How to reduce image file size

Learn how to optimize your image files and reduce their size without compromising on quality. This article provides a step-by-step guide to help you efficiently decrease image file sizes and enhance website performance, loading times, and overall user experience. Discover various non-technical methods and user-friendly tools to achieve smaller image sizes while preserving visual appeal.
Images are an integral part of modern web design, enhancing the visual appeal and engagement of websites. However, large image files can lead to slower loading times and negatively impact user experience. Optimizing image file sizes is essential for improving website performance and ensuring a seamless browsing experience for your visitors.
The Purpose of This Guide
We've put this post together to provide you with practical techniques and tools to reduce image file sizes effectively. We will explore various methods, both non-technical and technical, that you can implement to optimize your images without compromising their quality. Whether you run a personal blog, an e-commerce platform, or any other type of website, understanding image optimization will help you enhance your website's performance and deliver an exceptional user experience.
Why Image Optimization Matters
Optimizing images is crucial for several reasons:
- Faster Page Load Times: When images are not optimized, they can significantly increase the time it takes for web pages to load. Slow-loading pages can frustrate users and lead to higher bounce rates.
- Improved User Experience: Users expect fast-loading websites. Optimizing image file sizes ensures a smoother and more enjoyable experience for your site's visitors.
- Search Engine Optimization (SEO): Search engines take website loading speed into account when ranking search results. Faster-loading pages have a better chance of ranking higher in search engine results.
- Bandwidth and Storage Savings: Optimized images consume less bandwidth, reducing data usage for both website visitors and server resources. It also lowers storage costs for website owners.
Understanding common Image File Formats
When it comes to image optimization, the choice of file format plays a significant role in determining the image's size and quality. Different image file formats have unique characteristics, and understanding them will help you make informed decisions while optimizing your images.
The following are the most commonly used image file formats on the web:
JPEG (Joint Photographic Experts Group)
JPEG, (or JPG) is widely used for photographs and images with complex color gradients. It offers a good balance between image quality and file size compression, making it suitable for most web images.
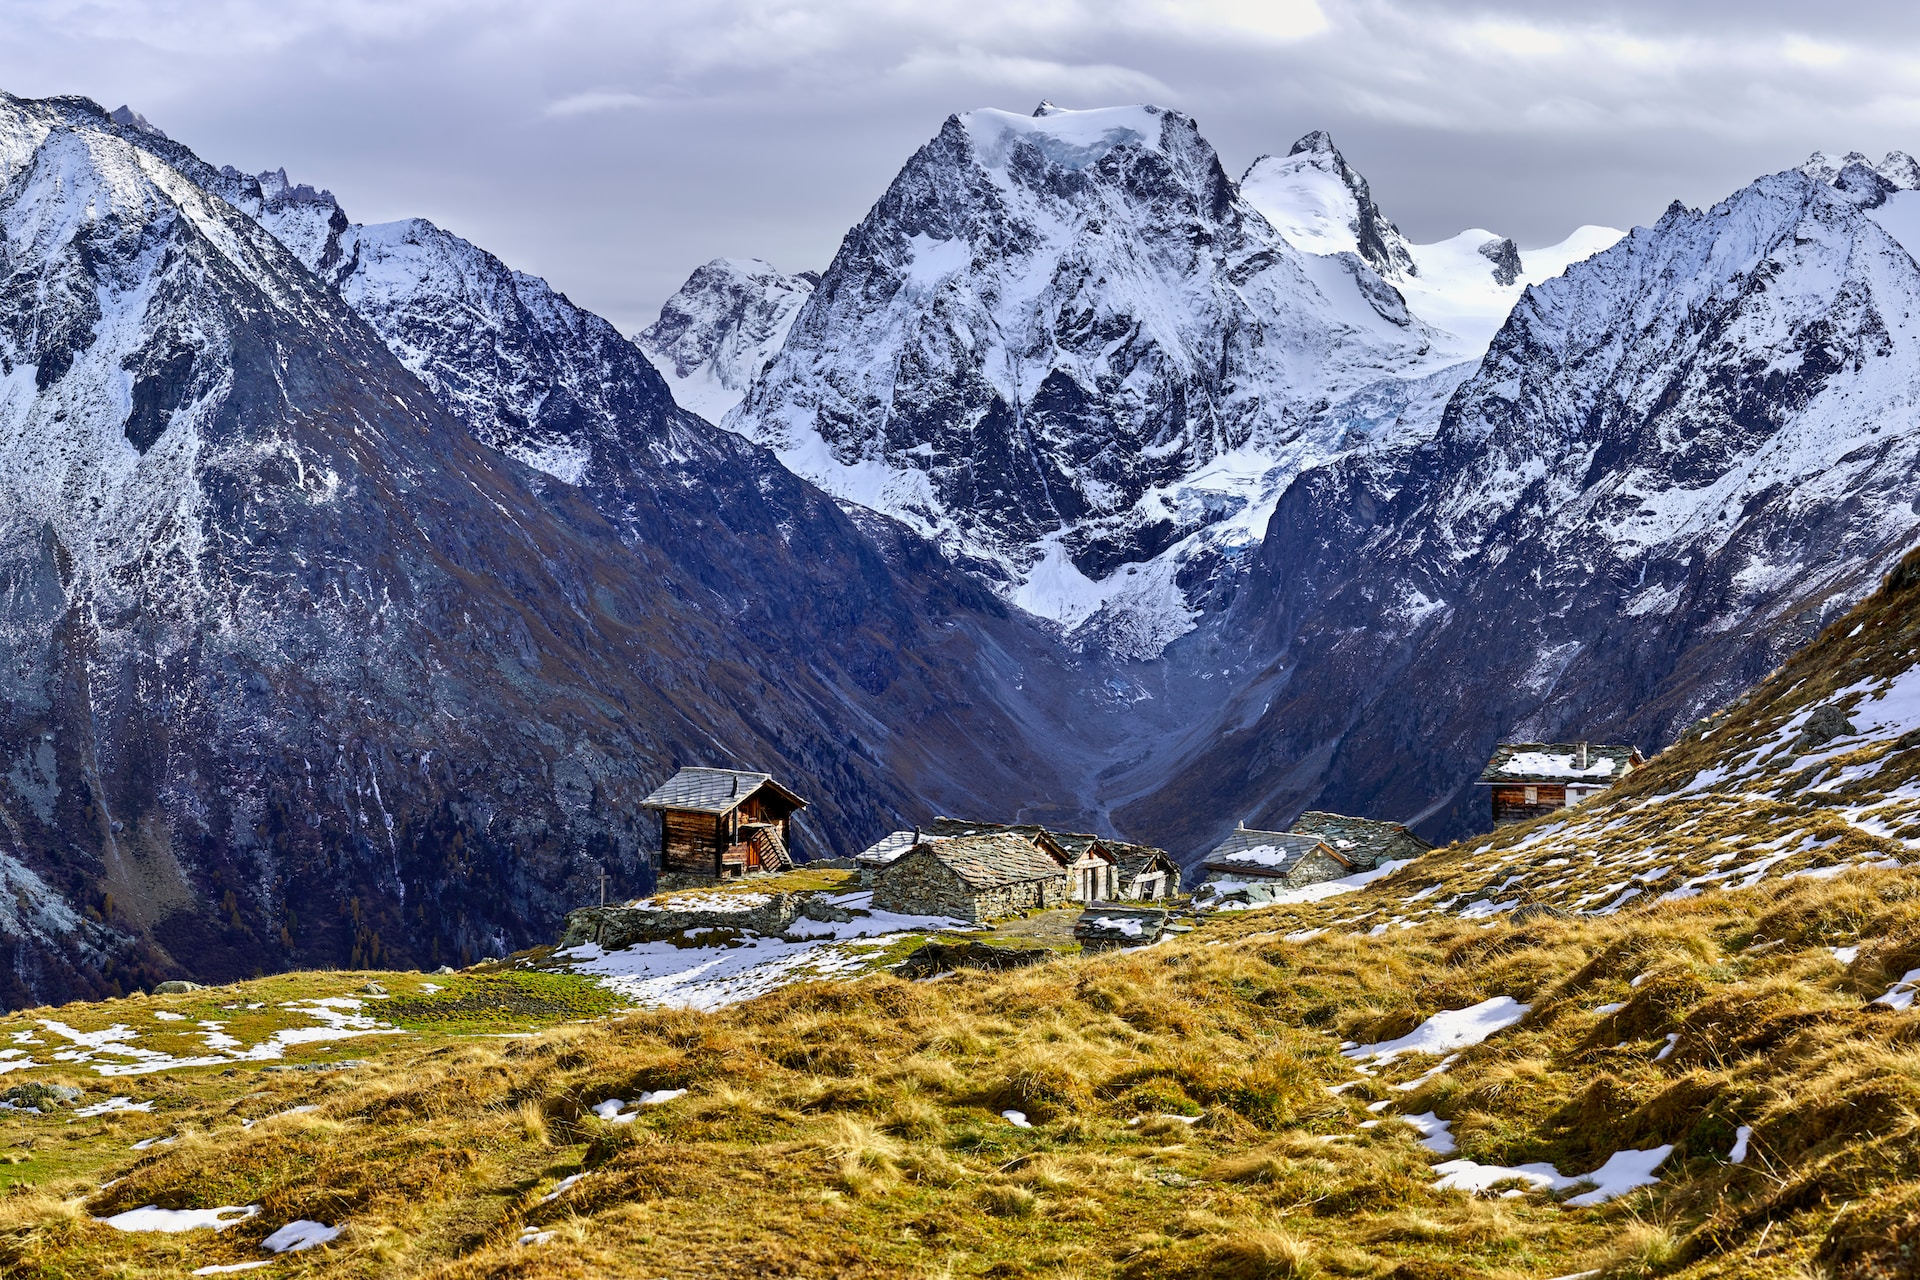 Photo by Xavier von Erlach
PNG (Portable Network Graphics)
PNG is ideal for images that require transparency or have simple graphics, such as logos and icons. It offers lossless compression, meaning the image quality remains unchanged, but file sizes can be larger compared to JPEG.
![]() Photo by Harpal Singh
Photo by Harpal Singh
GIF (Graphics Interchange Format)
Much like PNG, GIFs are used for simple animations and graphics with limited colors. They support transparency and unlike PNG also animation, but their color palette is limited, making them unsuitable for photographs.
WebP
Developed by Google, WebP is a modern image format that provides both lossless and lossy compression. It typically offers smaller file sizes than JPEG and PNG without compromising image quality. However, browser support for WebP may vary.
Choosing the Right File Format
Selecting the appropriate file format depends on the type of image and its intended use:
Photographs and Complex Images
For photographs and images with complex color gradients, JPEG is usually the best choice. Adjust the compression level to balance image quality and file size.
Graphics with Transparency
When transparency is required, opt for PNG. However, keep in mind that PNG files can be larger than JPEGs, so consider using PNG for images where transparency is essential, such as logos.
Simple Graphics and Icons
For simple graphics, icons, or images with limited colors, both PNG and GIF may be suitable. For animated graphics, GIF is the go-to format.
Modern and Efficient Option
Consider using WebP for modern browsers that support the format. WebP can significantly reduce file sizes while maintaining excellent image quality. Regardless of what of the above categories your image fits in to.
Understanding the strengths and limitations of each image format will enable you to make the right choices during image optimization, leading to faster-loading web pages with visually appealing content.
Non-Technical Methods for Image Compression
Image compression doesn't always require complex software or technical expertise. There are several non-technical methods you can employ to reduce image file sizes without compromising quality. These techniques are easy to implement and can make a significant difference in optimizing your images for the web.
1. Cropping and Resizing Images
One straightforward way to reduce image file size is by cropping and resizing images to the appropriate dimensions. Often, images captured from cameras or smartphones are much larger than necessary for web display. By cropping out unnecessary portions and resizing them to fit the required dimensions, you can significantly reduce the file size.
Keep in mind the aspect ratio when resizing to avoid distortion. Additionally, tools like MS Paint (Windows), Preview (Mac), or free online editors can be used to perform basic cropping and resizing tasks.
2. Removing Unnecessary Metadata
Digital cameras often embed metadata into image files, including information like the camera model, date, and GPS coordinates. While this metadata can be useful, it can also contribute to larger file sizes. Removing this unnecessary metadata, also known as EXIF data, can help reduce the image size without affecting its visual quality.
 Photo by Markus Spiske
You can use various tools like Adobe Photoshop, Adobe Lightroom, or online image optimizers to strip out EXIF data and reduce the file size.
3. Optimizing Image Composition and Cropping
Carefully considering the image's composition and cropping can lead to a more visually appealing and smaller image file. Eliminate any unnecessary elements from the image and focus on the main subject. A well-composed image not only looks better but also results in a reduced file size.
Experiment with different compositions and cropping styles to find the best balance between visual appeal and file size. Remember that simpler images tend to compress better and load faster.
4. Reducing Image Resolution
Most images intended for the web do not require extremely high resolutions used for printing. Reducing the image resolution can significantly shrink the file size. For example, an image with a resolution of 3000x2000 pixels can be reduced to 1200x800 pixels without a noticeable loss of quality for web display.
Always check the image's resolution and downscale it if necessary using image editing software or online tools.
By applying these non-technical image compression methods, you can effectively decrease file sizes while maintaining image quality. However, suppose you want to achieve even more substantial reductions in file size without compromising image quality. In that case, you may need to explore specialized image compression tools and software, which we'll cover in the next section.
Compression Tools and Software
 Photo by Glenn Carstens-Peters
While non-technical methods are helpful for basic image compression, specialized image compression tools and software can further optimize your images for the web. These tools are designed to achieve significant reductions in file sizes while maintaining image quality. Let's explore some popular image compression options:
Online Image Compression Platforms
Numerous online image compression platforms offer a user-friendly way to reduce image file sizes without requiring any software installation. Simply upload your images to the platform, and they will be automatically compressed and made available for download. Some platforms even allow you to preview the compressed image before downloading it.
Popular Online Image Compression Platforms:
- TinyPNG: Specifically designed for PNG and JPEG compression, TinyPNG produces impressive results for both photographs and graphics.
- ImageOptim: A versatile tool that supports various image formats and provides excellent compression without compromising quality.
- Compressor.io: This platform offers multiple compression options and lets you see how different settings affect the image quality.
- Photopea: A free to use image editor accesible directly in the browser that offers multiple compression options.
Offline Image Compression Software
If you prefer to compress images on your local computer, there are several offline image compression software options available:
- Adobe Photoshop: A powerful image editing software that includes robust image compression features, allowing you to adjust compression settings manually.
- GIMP: A free and open-source image editor with compression capabilities, suitable for users who don't have access to Photoshop.
- ImageOptim (Offline Version): ImageOptim is available as an offline application for macOS users, providing the same compression capabilities as the online version.
Pros and Cons of Different Tools
Each image compression tool has its advantages and limitations. Online platforms are convenient and accessible from any device with internet access, making them ideal for quick image compression tasks. On the other hand, offline software like Adobe Photoshop and GIMP offer more control over compression settings and may be preferred by professional photographers and designers.
When using any image compression tool, remember to strike a balance between file size reduction and image quality. Test different compression levels and compare the results to find the best compromise for your specific needs.
Frequently Asked Questions About Image Size
In this FAQ section, we address some of the most commonly asked questions related to image size manipulation. Whether you want to learn how to change image size in Photoshop, understand the differences between lossless and lossy image compression, or seek methods to reduce image file size on Mac or iPhone, we've got you covered.
How to change image size in Photoshop?
To change the image size in Adobe Photoshop, follow these steps:
- Open your image in Photoshop.
- Navigate to the "Image" menu at the top.
- Select "Image Size" from the dropdown menu.
- In the dialog box that appears, you can adjust the image dimensions in pixels, inches, or other units.
- Make sure the "Constrain Proportions" option is checked to maintain the aspect ratio while resizing.
- Click "OK" to apply the changes. Remember to save the image with a new filename to preserve the original.
How to increase the size of an image?
Increasing the size of an image is known as "upscaling," but it should be done with caution to avoid a loss of quality. While enlarging an image, you might encounter pixelation and blurriness. To increase image size in Photoshop:
- Open your image in Photoshop.
- Navigate to the "Image" menu and select "Image Size."
- In the dialog box, enter the desired dimensions for the width and height.
- Ensure the "Resample" option is checked, and choose the preferred resampling method (e.g., "Bicubic Smoother" for enlargement).
- Click "OK" to apply the changes. Note that upscaled images may not be as sharp as the original.
How to reduce pixel size of an image?
Reducing the pixel size of an image means decreasing its dimensions, often done to make the file smaller. Here's how to do it in Photoshop:
- Open your image in Photoshop.
- Go to the "Image" menu and select "Image Size."
- In the dialog box, adjust the width and height to the desired dimensions.
- Ensure the "Resample" option is checked, and choose an appropriate resampling method (e.g., "Bicubic Sharper" for reduction).
- Click "OK" to apply the changes. Keep in mind that reducing pixel size can lead to some loss of detail.
What is lossless image compression?
Lossless image compression is a method of reducing image file size without sacrificing image quality. The compression algorithm retains all original image data, ensuring a pixel-perfect replica of the uncompressed image. This method is suitable for images where precision and exact representation are crucial, such as logos, illustrations, or graphics with sharp lines.
Lossless formats, like PNG and GIF, are commonly used for images that require transparency or where no loss of detail is acceptable. While lossless compression maintains image quality, it may result in larger file sizes compared to lossy compression.
What is lossy image compression?
Lossy image compression is a technique that achieves significant file size reduction by selectively discarding some image data. Unlike lossless compression, this method results in some loss of image quality, which may not be visually noticeable in most cases.
Formats like JPEG use lossy compression and are ideal for photographs and images with complex color gradients. Lossy compression allows for higher levels of compression, leading to much smaller file sizes, making it more suitable for web use, where speed and bandwidth efficiency are crucial factors.
Remember to strike a balance between image quality and file size when choosing between lossless and lossy compression methods.
How to reduce image file size on Mac?
On Mac, you can reduce image file size using the built-in "Preview" application. Here's how:
- Locate the image file on your Mac.
- Right-click the image file and select "Open With" and choose "Preview."
- In the Preview menu, go to "File" and then "Export."
- In the Export dialog box, adjust the image quality using the slider. Lower quality results in smaller file size.
- Optionally, you can change the file format to a more efficient one (e.g., from PNG to JPEG).
- Click "Save" to create the compressed version of the image.
How to reduce image file size on iphone?
Reducing image file size on an iPhone can be done by following these steps:
- Open the "Photos" app and select the image you want to reduce.
- Tap "Edit" in the top-right corner of the screen.
- On the editing screen, tap the crop/rotate icon (a square with arrow).
- Adjust the corners of the selection box to crop the image to a smaller size.
- After making the necessary adjustments, tap "Done" to save the changes.
Alternatively, you can use third-party apps available on the App Store that offer image compression and resizing features to further optimize your images.