How to extend an image in Photoshop

With Adobe Photoshop, the possibilities for professional users are limitless when it comes to extending your images seamlessly. Whether you want to add extra space to a composition, elongate a background, or introduce entirely new elements, mastering the art of image extension can help your design projects reach new heights. In this comprehensive blog post, we'll walk you through the step-by-step process of extending images in Photoshop (including the new "Generative Fill" functionality). Regardless of how you go about extending your image, these techniques will help to ensure a flawless result.
Lacking A Photoshop License?
Far from all of us have access to tools like Photoshop, and there are plenty of other options if you'd like to extend an image.
- GIMP: A free and open-source image editor with compression capabilities, suitable for users who don't have access to Photoshop.
- Photopea: A free to use image editor accesible directly in modern web browsers.
- ImageResize.ai: My own and super-simple tool to extend and resize images for common formats (Yes, I'm sounding my own horn here..).
Still want to find out how to do extend an image using only Photoshop? or would you like to learn how to use Photoshop's new "Generative Fill" functionality? Keep on reading!
How to Extend an Image in Photoshop: A Step-by-Step Guide
Discover how to extend images seamlessly using Adobe Photoshop. This article provides non-technical instructions to help you expand your images without compromising their quality. Learn essential techniques to add extra space, background, or objects to your photos, enabling you to create stunning visuals and enhance your design projects.
Preparing Your Workspace
Before you begin extending an image in Photoshop, it's essential to set up your workspace for a smooth editing process. Follow these steps to prepare your workspace:
Opening the Image in Photoshop
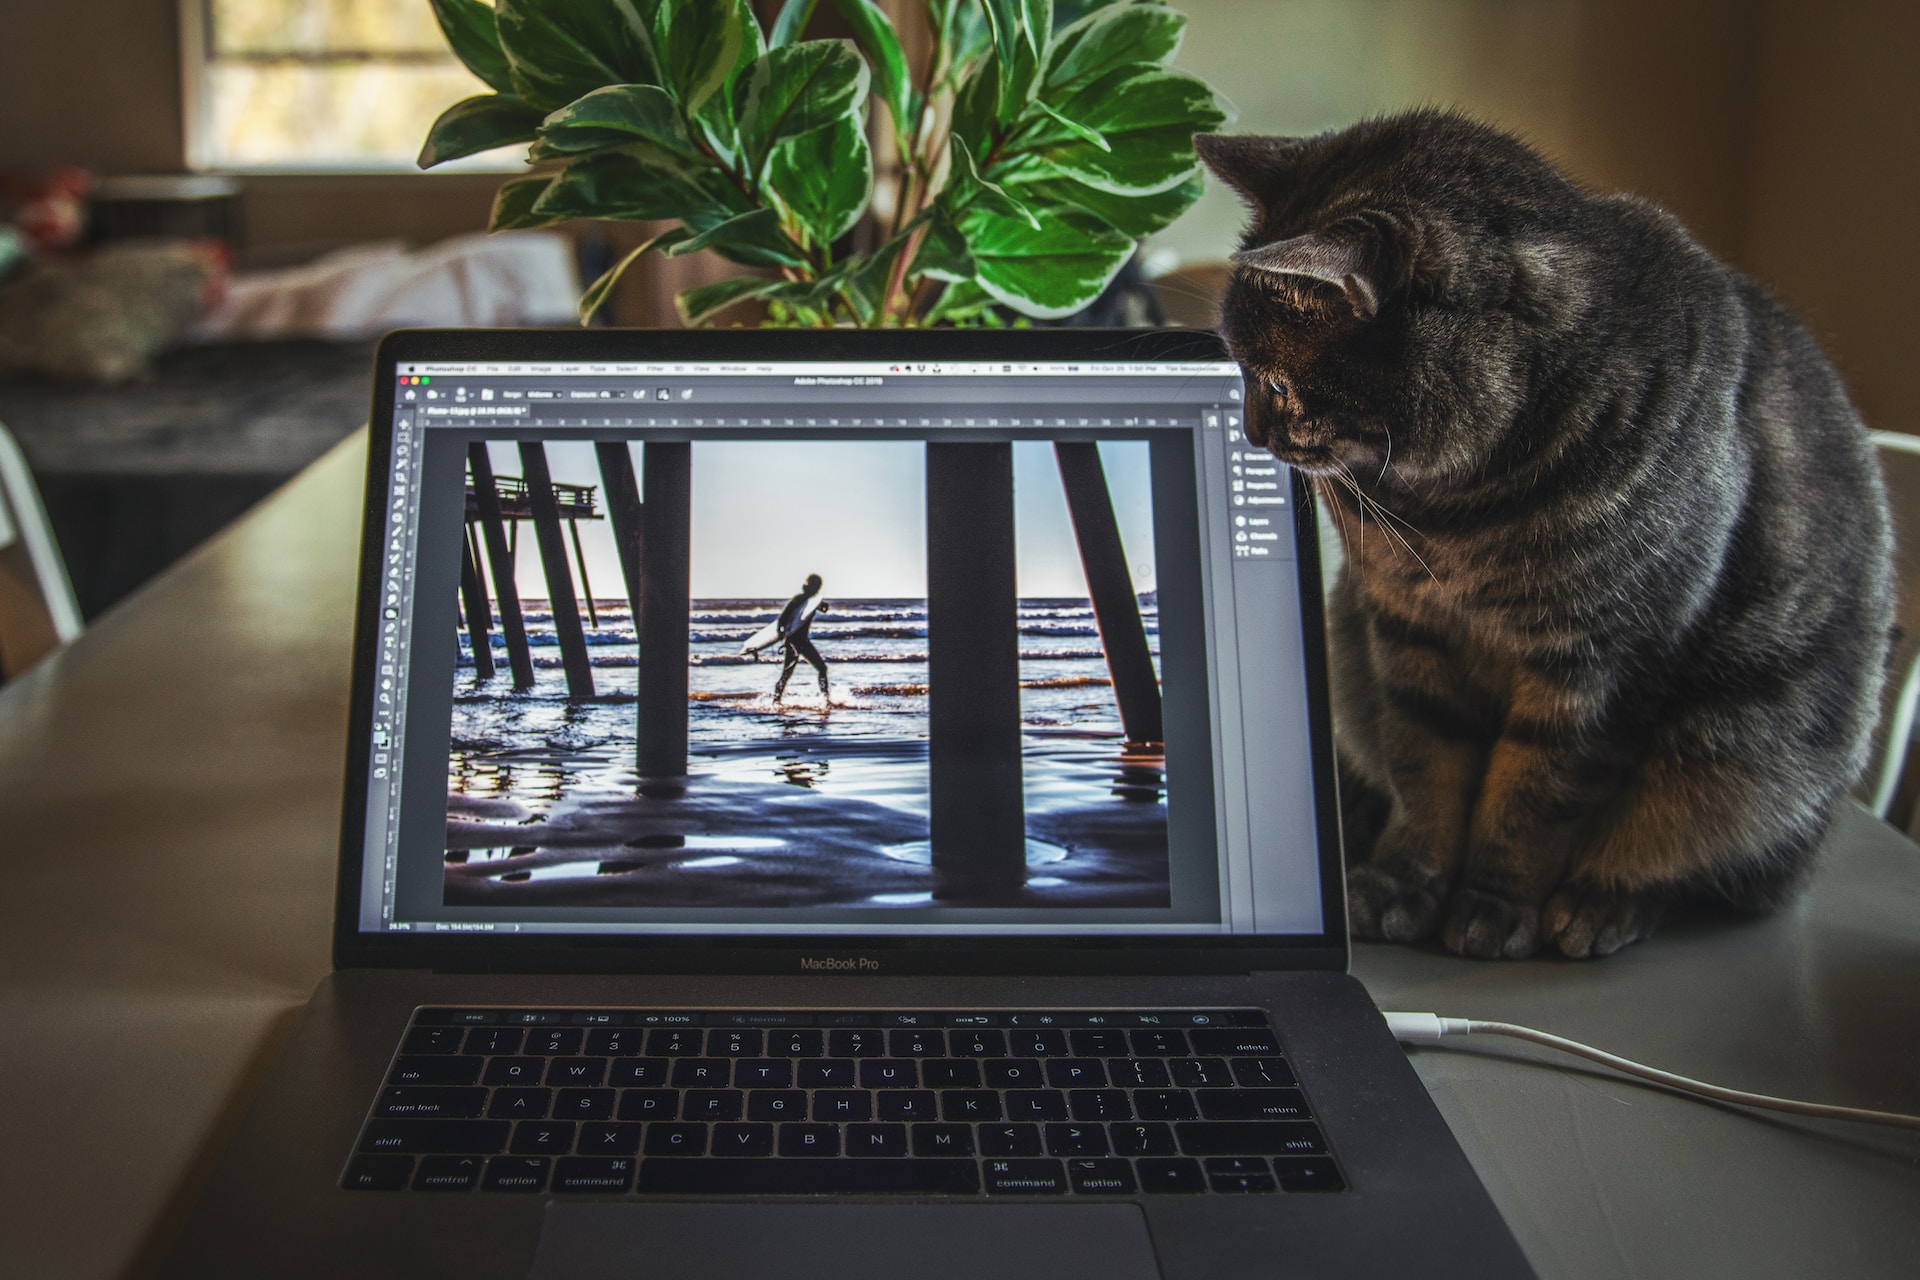 Photo by Tim Mossholder
- Launch Adobe Photoshop on your computer.
- Go to the "File" menu and select "Open" (or use the keyboard shortcut Ctrl+O for Windows or Command+O for Mac).
- Navigate to the location of the image you want to extend and select it.
- Click "Open" to import the image into Photoshop.
Understanding Canvas Size and Image Layers
- Once the image is open in Photoshop, take note of its current canvas size. You can find this information in the bottom left corner of the screen, displaying the width, height, and resolution of the image.
- Familiarize yourself with the Layers panel on the right side of the screen. If your image has multiple layers (e.g., a background layer and additional layers with content), make sure to work with the correct layer when extending the image.
Extending the Image Background
One common scenario for extending an image is to increase the size of the background to accommodate more content or to adjust the composition. Here are some techniques to extend the image background seamlessly:
Using Content-Aware Fill
- Select the "Crop Tool" from the toolbar on the left side of the screen (keyboard shortcut: C).
- In the options bar at the top, check the "Content-Aware" option.
- Drag the crop handles to extend the canvas in the desired direction.
- Press Enter (or Return) to apply the crop and let Photoshop fill the extended area using the Content-Aware technology.
Cloning and Healing Tools for Seamless Extensions
- Select the "Clone Stamp Tool" from the toolbar (keyboard shortcut: S).
- Adjust the brush size and hardness as needed in the options bar.
- Hold the Alt key (Option key on Mac) and click on a clean area near the edge of the image that you want to clone.
- Release the Alt key and carefully paint over the area you want to extend, using the cloned pixels to seamlessly blend the extension.
Utilizing the Patch Tool for Irregular Backgrounds
- Select the "Patch Tool" from the toolbar (keyboard shortcut: J).
- Draw a selection around the area you want to extend. The selected area should include both the original content and some surrounding background.
- Drag the selection to a clean area with similar background texture to replace the selected portion and extend the image.
Remember to work on a new layer when using the cloning, healing, or patching tools to maintain a non-destructive workflow.
Using Generative Fill In Photoshop Beta
Generative Fill is an exciting new feature available in the Photoshop (Beta) desktop app, powered by advanced AI capabilities. With Generative Fill, photoshop-savvy users can add, extend, or remove content from images, opening up a world of creative possibilities.
Before you can start using Generative Fill, ensure you have the Photoshop (Beta) installed on your computer. If you don't have it yet, you can start a free trial of Photoshop and install the Photoshop (Beta) via the Creative Cloud app.
- Open your desired image in Photoshop (Beta).
- Select an Empty Section Adjacent to the Image: Identify the area in the image where you want to generate or extend content. Ensure that this area does not contain any essential elements you want to retain.
- Activate Generative Fill:
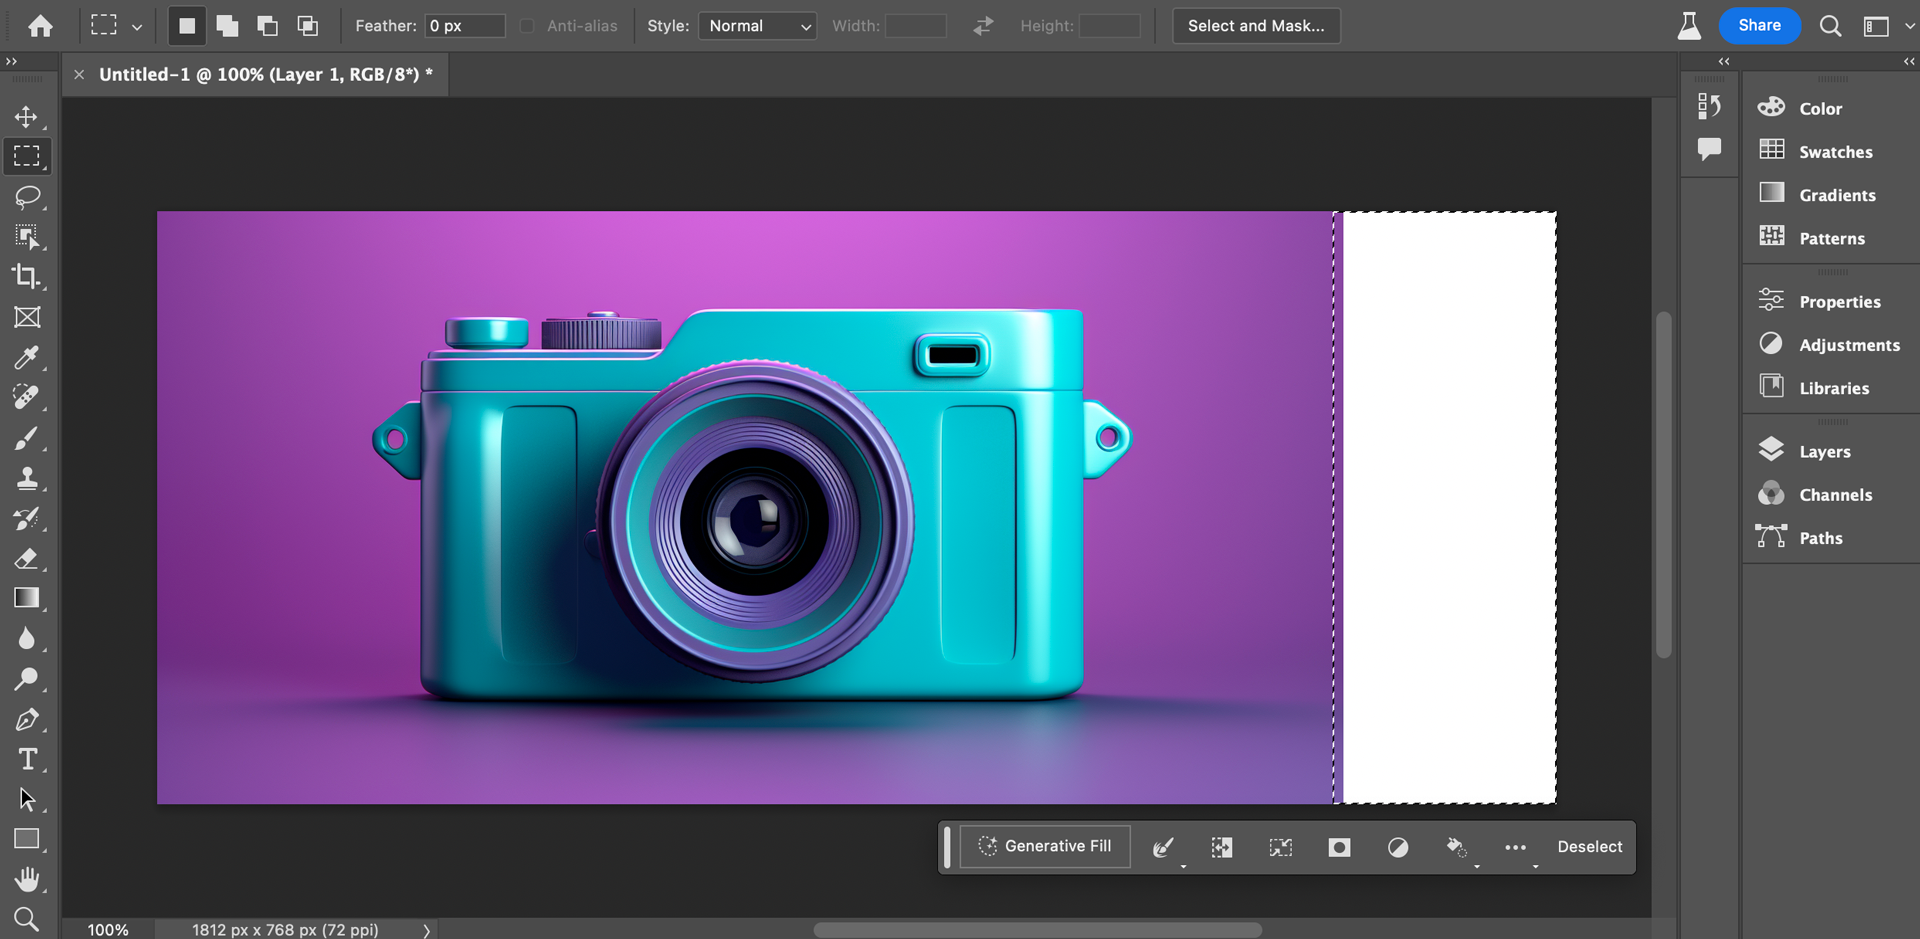 Go to the toolbar or menu, and locate the Generative Fill feature. In the Beta version, Generative Fill might be available under different menus or labeled as an experimental feature. Click on it to activate the tool.
 - Enter a Text Prompt (Optional):
 If you want to guide the AI in the generation process, you can enter a short text prompt. This text provides context for the content you wish to add or extend. If you prefer to let the AI analyze the surrounding context without a prompt, you can skip this step and click "Generate".
 - Press "Generate":
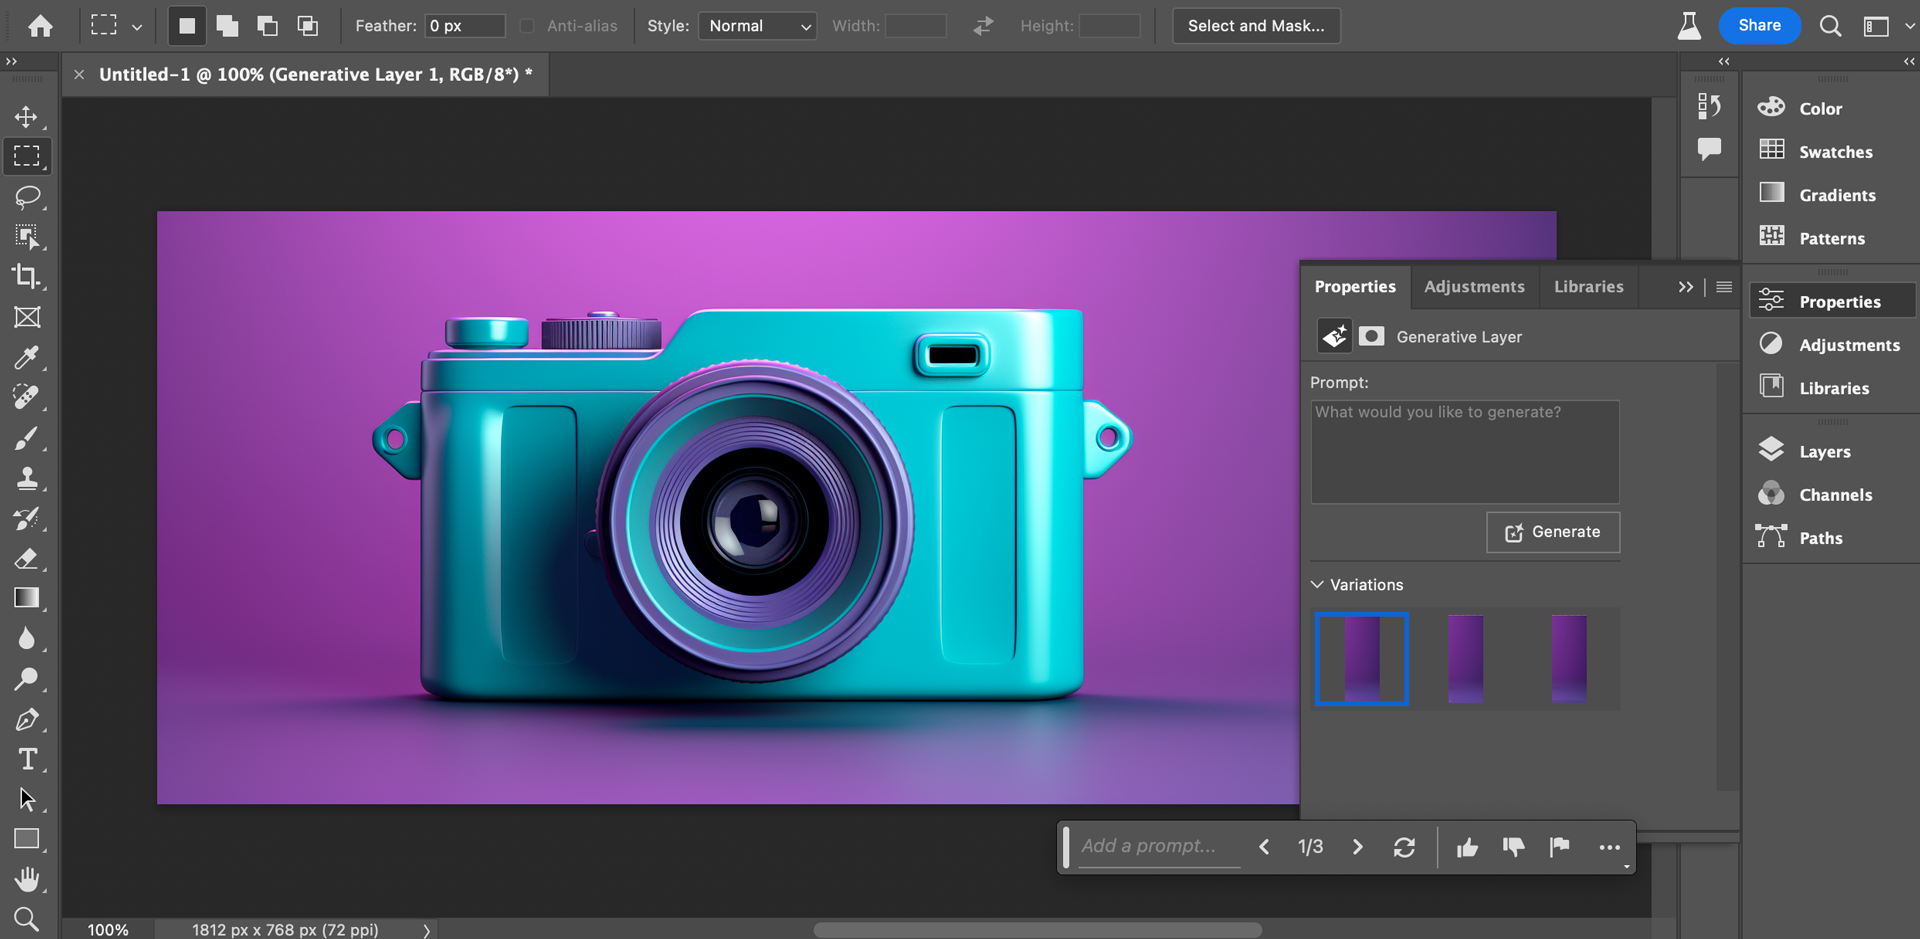 After selecting the empty section and entering a prompt (if desired). Generative Fill will start working to analyze the image and prompt (if provided) and create three variations that will (hopefully) seamlessly join up with the surrounding elements.
 - Fine-Tune and Adjust (Optional):
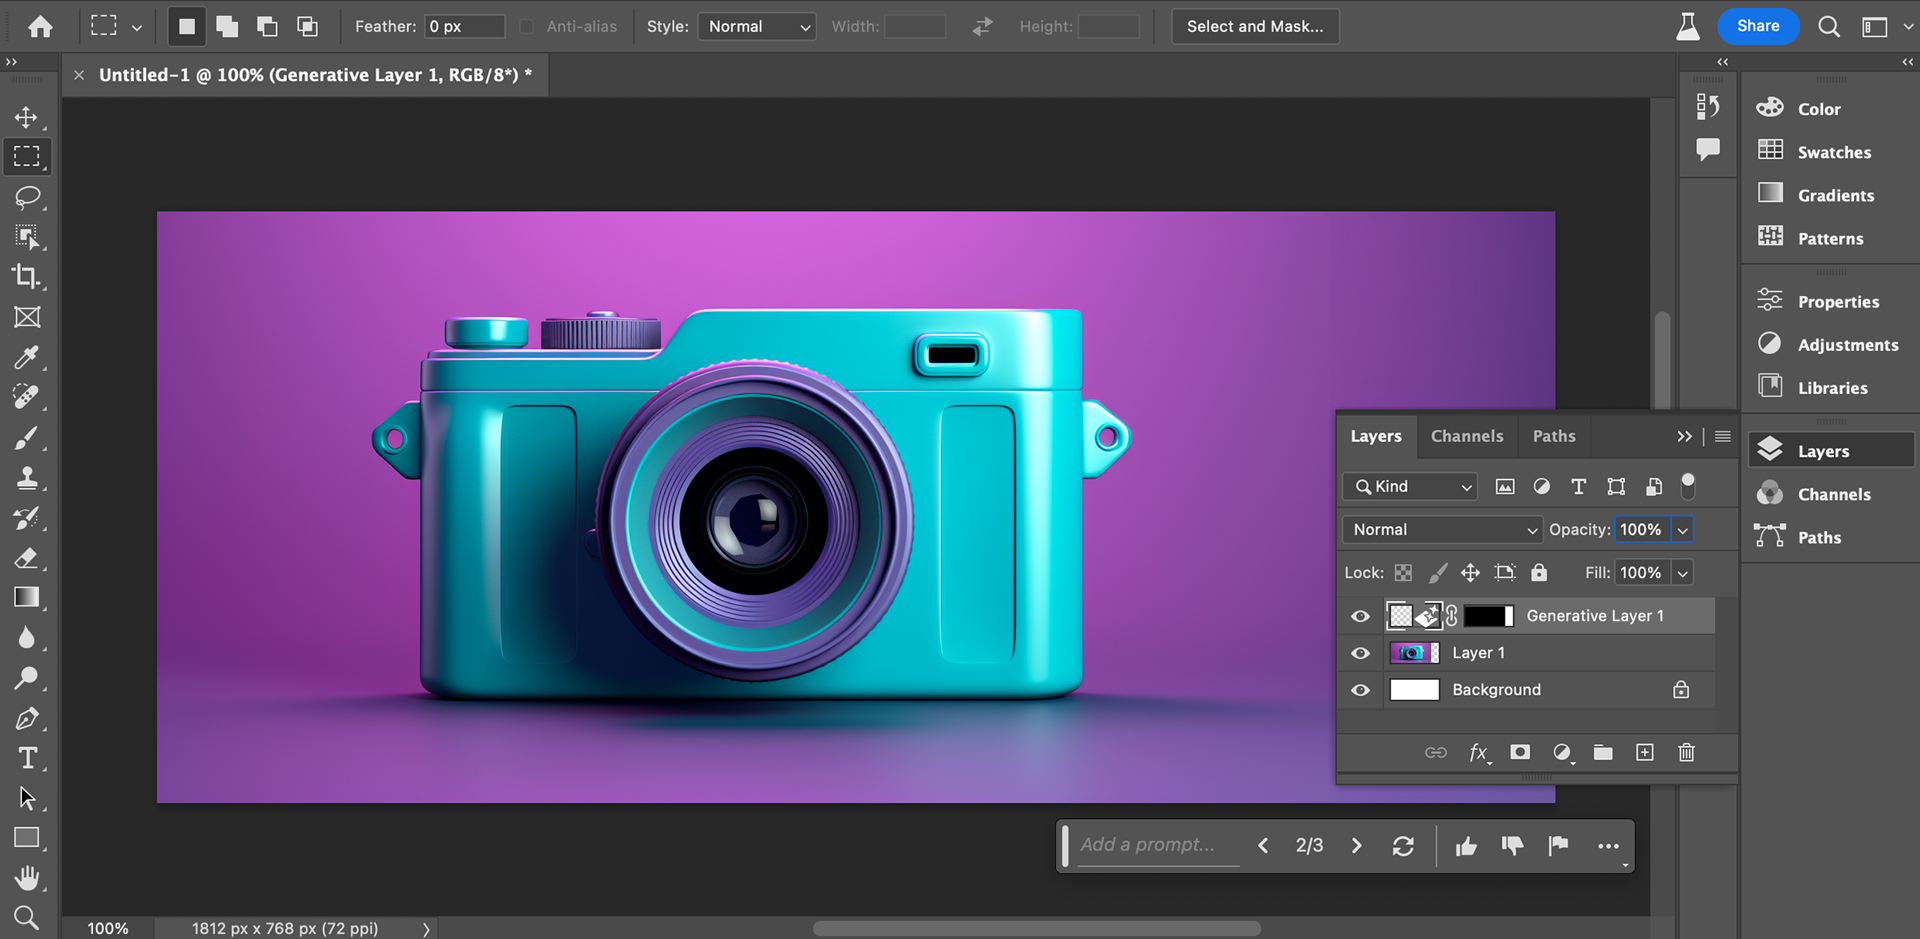 Generative Fill automatically adds the generated content on a new generative layer, keeping the original image intact. You can now fine-tune and adjust the generated content using various Photoshop tools, ensuring it blends seamlessly with the existing image.
Extending the Image with Content
In addition to extending the background, you may want to add extra content to your image. This could involve duplicating and moving existing elements or introducing entirely new objects. Follow these steps to extend your image with content:
Adding Content Using Copy-Paste and Transform
- Use the selection tools (e.g., Rectangular Marquee, Lasso, or Magic Wand) to select the content you want to duplicate or move to a new location.
- Copy the selected content (Ctrl+C for Windows or Command+C for Mac) and paste it onto a new layer (Ctrl+V for Windows or Command+V for Mac).
- Use the "Move Tool" (keyboard shortcut: V) to position the pasted content in the desired location.
- Resize and transform the pasted content using the "Transform" commands (Ctrl+T for Windows or Command+T for Mac). Hold the Shift key while transforming to maintain proportions.
Adding Content Using Generative Fill
- Make sure that you are running a photoshop version that has the Generative Fill feature, like Photoshop Beta.
- Use the selection tools (e.g., Rectangular Marquee, Lasso, or Magic Wand) to select the area where you want to generate your new content.
- Press "Generate" and enter a descriptive text-prompt of what you'd like to fill your selection with.
- Select one of the variations that you like, or re-generate for additional choices.
Working with Layers for a Non-Destructive Workflow
Regardless of how you're extending your image with new content, it's crucial to work with layers. Each added element should be placed on a separate layer, allowing you to edit, move, or hide elements independently.
- Create a new layer by clicking the "New Layer" icon at the bottom of the Layers panel (or Ctrl+Shift+N for Windows or Command+Shift+N for Mac).
- Add the new content on the newly created layer.
- Use the "Opacity" slider in the Layers panel to adjust the transparency of the new content, if necessary, for better blending.
Merging and Blending the Added Content
After adding the desired content, it's time to blend it with the original image to create a seamless extension.
- Make sure the added content layer is selected in the Layers panel.
- Adjust the layer blending mode and opacity to match the lighting and color of the original image.
- Use layer masks and soft brushes to blend the edges of the added content, ensuring a smooth transition between the new and existing elements.
Matching Colors and Textures
When extending an image, it's crucial to match the colors and textures of the added content with the existing image to achieve a natural-looking result. Here's how to do it:
Adjusting Colors and Hue-Saturation
- Select the added content layer in the Layers panel.
- Go to the "Image" menu, then "Adjustments," and choose "Hue/Saturation" or other color adjustment options.
- Use the sliders to modify the color, saturation, and brightness of the added content to match the original image.
Utilizing Filters and Adjustment Layers
- Create a new adjustment layer (e.g., "Brightness/Contrast," "Curves," or "Color Balance") from the Layers panel's adjustment layer icon.
- Apply the adjustments to the added content layer to harmonize it with the rest of the image.
- Experiment with different filters and adjustments to achieve the desired visual result.
Applying Gradients and Texture Overlays
For complex textures and lighting, you can use gradients and texture overlays to blend the added content seamlessly with the original image:
- Create a new layer and fill it with a gradient or texture that matches the surrounding environment.
- Use blending modes and layer masks to apply the gradient or texture overlay selectively to the added content layer.
Ensuring a Flawless Result
Once you've extended the image and blended the added content, it's essential to scrutinize the result for any imperfections. Here are some tips to ensure a flawless extension:
Zooming and Inspecting Details
- Zoom in on the extended area to inspect it closely for any inconsistencies or artifacts.
- Use the "Spot Healing Brush," "Healing Brush," or "Clone Stamp Tool" to correct any imperfections.
Refining Edges for Smooth Blending
- Use the "Smudge Tool" or "Blur Tool" with a soft brush to smooth out any hard edges or transitions between the added content and the original image.
Final Touches and Saving Your Extended Image
- Make any final adjustments or enhancements to the entire image, if necessary.
- Save your extended image in the desired file format, such as JPEG or PNG, with a new filename to preserve the original. If you are unsure of what file format to pick, take a look at our guide on how to reduce image file sizes which details the optimal uses for common file formats.