Resizing Images Without Losing Quality
Resizing images is a common task for creatives, whether you're a graphic designer, photographer, or social media manager. However, simply changing the dimensions of an image can often result in a loss of quality, leaving you with a pixelated or blurry mess. That's where resizing images without losing quality becomes crucial.
In this article, we'll explore the various techniques and tools that can help you resize your images while maintaining their sharpness and clarity. We'll also discuss the importance of understanding image resolution and DPI, as well as provide practical tips and step-by-step instructions for resizing images in popular software like Photoshop. So let's dive in and discover the secrets to preserving image quality during the resizing process!
Why is Resizing Images Without Losing Quality Important?
Resizing an image involves changing its dimensions, either by reducing or enlarging it. While this might seem like a simple task, it's essential to ensure the image's quality remains intact.
For instance, let's say you have a high-resolution image that you want to use on your website. However, if you directly resize it to fit your desired dimensions, you risk compromising its quality. This can result in a loss of detail, sharpness, and overall visual appeal.
On the flip side, if you have a smaller image that needs to be enlarged, simply stretching it can lead to pixelation, making it look unprofessional and unappealing.
The Challenges of Resizing Images
One of the main challenges when resizing images is finding the right balance between size and quality. Reducing an image's dimensions too much can result in a loss of detail and clarity. Conversely, enlarging an image beyond its original dimensions can lead to a loss of sharpness and introduce pixelation.
Additionally, different image editors and software may use various algorithms and techniques to resize images, which can affect the final result. Without proper knowledge and guidance, it's easy to end up with unsatisfactory results and wasted time.
Luckily, there are methods and tools available to help you resize images without losing quality. In the following sections, we'll explore these options and provide you with practical tips and recommendations. So let's get started!
Understanding Image Resolution and DPI
When it comes to resizing images without losing quality, it's crucial to understand the concepts of image resolution and DPI (dots per inch). These factors play a vital role in determining the overall quality and clarity of your resized images.
Image resolution refers to the number of pixels contained in an image. It directly affects the level of detail and sharpness. The higher the resolution, the more pixels there are, resulting in a clearer and more detailed image. On the other hand, lower resolution images may appear blurry or pixelated when stretched or enlarged.
DPI, or dots per inch, is a measurement that determines how many dots of ink are printed per inch. DPI primarily applies to printed images and affects the physical size and quality of the printed output. A higher DPI means more dots per inch, resulting in a sharper and more detailed printed image.
Now that we understand the basics, let's explore how resolution and DPI impact image quality when resizing.
The Relationship Between Image Resolution and Print Size
When it comes to printing or enlarging images, resolution is a critical factor. Let's say you have a high-resolution image that measures 2000 pixels by 1500 pixels. If you were to print this image at a resolution of 300 DPI, it would result in a physical print size of approximately 6.67 inches by 5 inches (2000/300 = 6.67 and 1500/300 = 5).
On the other hand, if you wanted to create a larger print, say 10 inches by 8 inches, you would need to adjust the resolution accordingly. To maintain a high-quality print, you would ideally want a resolution of 300 DPI. Therefore, you would need to resize the image to 3000 pixels by 2400 pixels (10 x 300 = 3000 and 8 x 300 = 2400).
The Impact of Resolution on Image Quality
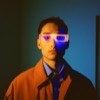
Resizing an image can have a significant impact on its overall quality, particularly if you're scaling it up. When you increase the size of an image, you're essentially stretching the existing pixels to fit the new dimensions. This process can result in a loss of sharpness and detail, making the image appear blurry or pixelated.
To maintain the best possible image quality when resizing, it's essential to choose the right resizing method and consider the image's original resolution. In the next section, we'll delve into the different image resizing methods available and discuss their pros and cons.
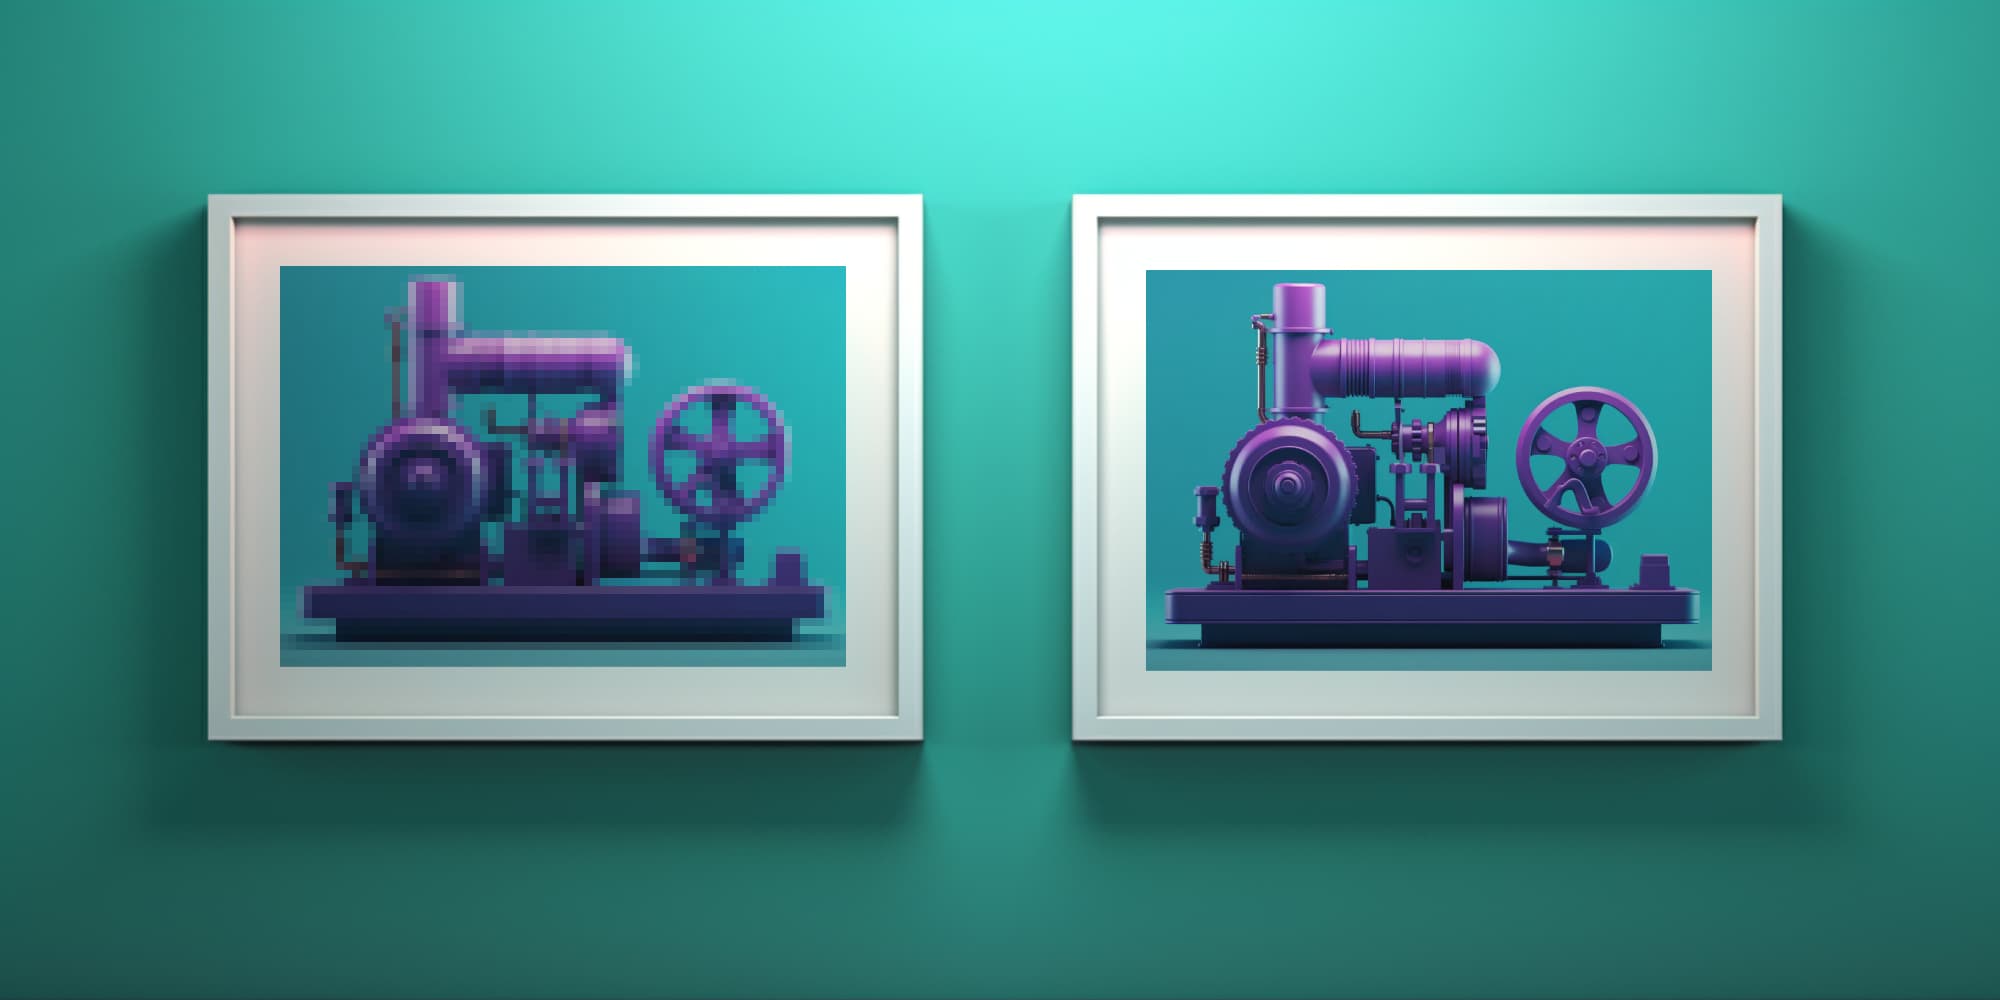
 When preparing an image for printing you have to pay careful attention to the resolution
Choosing the Right Image Resizing Method
When it comes to resizing images without losing quality, selecting the right method is crucial. Different image resizing algorithms can yield varying results, so it's important to understand the pros and cons of each method before making a decision.
Resampling: The Upsampling and Downsampling Approach
One popular image resizing method is resampling, which involves either upsampling or downsampling the image.
Upsampling is used when you need to increase the size of an image. It involves adding more pixels to the image, which can be a challenge if the original image doesn't have enough information. As a result, upsampling can potentially lead to a loss of quality and create a pixelated image. However, there are techniques, such as bicubic interpolation, that can help mitigate this issue by using surrounding pixels to estimate the new pixel values.
Downsampling, on the other hand, is used when you need to decrease the size of an image. This method involves removing pixels, which can result in a loss of detail. However, downsampling can improve the image's sharpness and reduce noise, especially when done properly using algorithms like Lanczos or Bicubic downsampling.
Pixel Interpolation: The Mathematics Behind Resizing
Another approach to resizing images is through pixel interpolation. This method uses mathematical algorithms to estimate the values of new pixels based on the surrounding pixels in the image. There are various types of pixel interpolation algorithms, such as Nearest Neighbor, Bilinear, and Bicubic.
Nearest Neighbor is the simplest interpolation method but can produce pixelated results. It works by selecting the nearest pixel from the original image to determine the value of the new pixel. While this method is fast and efficient, it might not preserve the fine details and smoothness of the original image.
Bilinear interpolation is a slightly more advanced technique that considers the four closest pixels to calculate the new pixel value. This method produces smoother results compared to Nearest Neighbor interpolation, but it may still result in slight blurring or artifacts.
Bicubic interpolation is a more sophisticated method that takes into account multiple surrounding pixels to estimate the new pixel value. It provides better results compared to Nearest Neighbor and Bilinear interpolation, with smoother edges and fewer artifacts. Bicubic interpolation is often the preferred choice when resizing images, as it balances quality and computational efficiency.
Guidelines for Selecting the Appropriate Resizing Method
Choosing the right resizing method depends on several factors, including the type of image and its purpose. Here are some guidelines to help you make an informed decision:
- Image content: Consider the nature of the image. For graphics, logos, or illustrations with sharp edges and text, pixel interpolation methods like Bicubic interpolation often yield better results. For photographs or images with complex details, resampling with proper upsampling or downsampling techniques may be more suitable.
- Resizing ratio: The resizing ratio, or the extent to which you need to change the image's size, can impact the choice of method. For small resizing ratios, pixel interpolation methods like Bicubic interpolation generally provide satisfactory results. For larger resizing ratios, resampling methods can be more effective.
- Intended use: Think about how the resized image will be used. If it's for web or screen display, pixel interpolation methods are usually sufficient. If the image will be printed or used in high-resolution applications, employing resampling methods with appropriate upsampling or downsampling techniques is crucial to maintain quality.
By understanding the different resizing methods and considering these guidelines, you can select the most suitable approach for your specific image resizing needs. Remember, experimenting with different methods and analyzing the results will help you determine the best fit for your particular situation.
Resizing Images in Photoshop
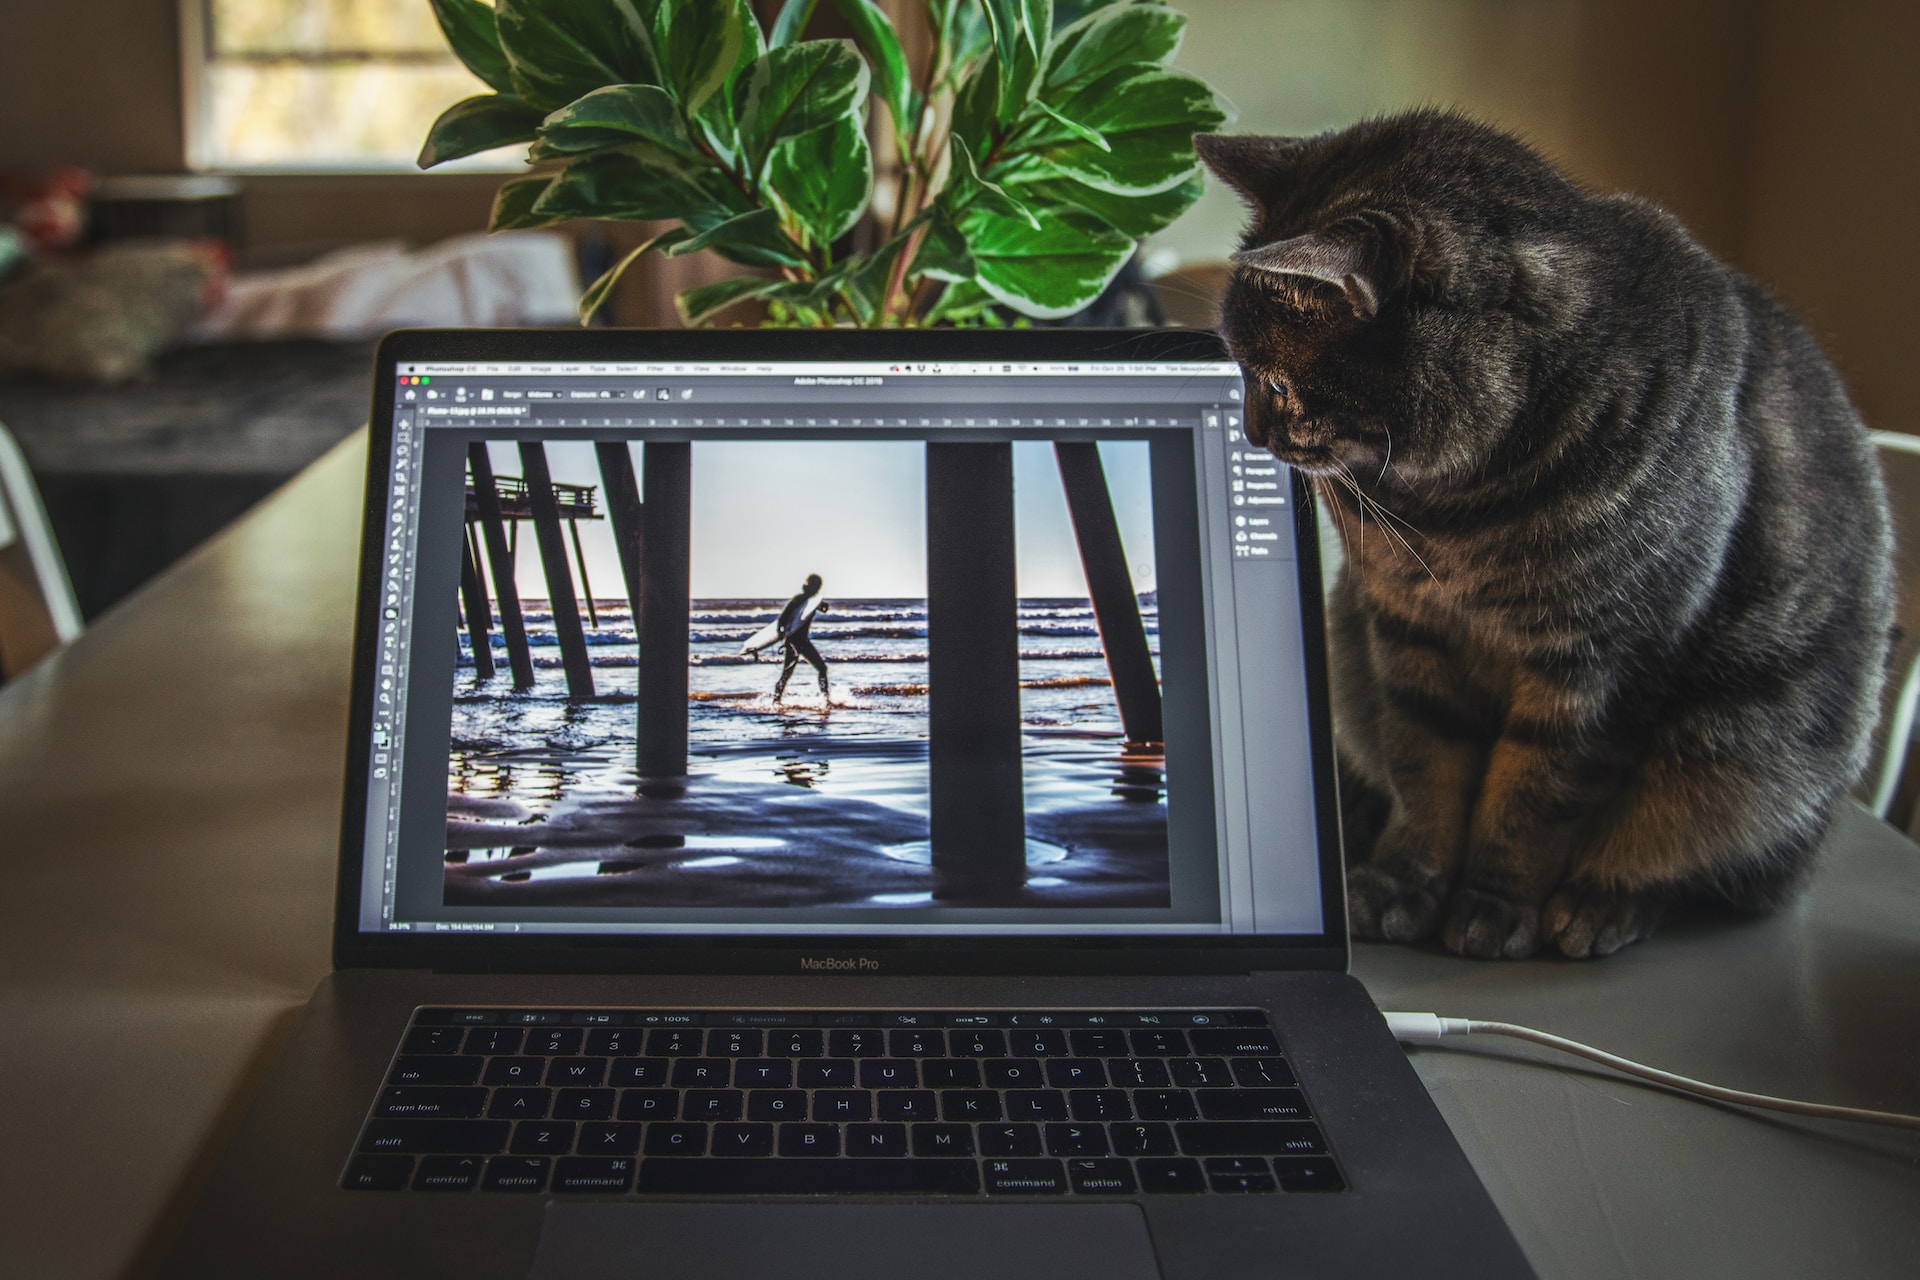 Photo by Tim Mossholder
When it comes to resizing images without losing quality, Photoshop is one of the most powerful tools at your disposal. Here, we'll walk you through the step-by-step process of resizing images in Photoshop, ensuring that you achieve the desired results while maintaining the integrity of your visuals.
- Open the image in Photoshop: Start by launching Photoshop and opening the image you want to resize. Simply go to File > Open and navigate to the location of your image file.
- Select the Image Size option: Once your image is open, go to Image > Image Size in the top menu. This will open the Image Size dialog box, where you can adjust the dimensions and resolution of your image.
- Choose the desired dimensions: In the Image Size dialog box, you'll see fields for width and height. You can enter the desired dimensions manually or use the provided drop-down menus to select a percentage or unit of measurement. It's important to maintain the aspect ratio to avoid distorting the image.
- Set the resolution: Next, you'll find the resolution field. The resolution is measured in pixels per inch (PPI) and determines the level of detail in your image. The standard resolution for web images is 72 PPI, while 300 PPI is often recommended for high-quality prints. Adjust the resolution as per your requirements, keeping in mind that a higher resolution will result in a larger file size.
- Choose the resampling method: Photoshop offers different resampling methods to help maintain image quality during resizing. In the Image Size dialog box, you'll find a drop-down menu labeled "Resample." Select the resampling method that best suits your needs.
- Bicubic Smoother: This method is ideal for downsampling images as it maintains the smoothness of gradients and reduces the risk of artifacts.
- Bicubic Sharper: Use this method when upsampling images, as it enhances the sharpness of details, preserving the overall quality.
- Click "OK": Once you have adjusted the dimensions, resolution, and selected the appropriate resampling method, click the "OK" button. Photoshop will resize your image while preserving its quality.
- Save your resized image: Finally, save your resized image by going to File > Save As. Choose the desired file format (such as JPEG or PNG) and select a location to save your resized image.
Remember, Photoshop provides advanced options and features that allow for further control over the resizing process. Experiment with these options to achieve the best results for your specific project.
Didn't find what you were looking for? Check out our guide on how to extend images using Photoshop
By following these steps, you can resize your images in Photoshop without compromising their quality. However, keep in mind that Photoshop is a complex tool, and it might take some practice to fully grasp all its capabilities. Don't be afraid to explore and experiment, as it's through trial and error that you'll become more proficient in resizing images effectively.
Frequently asked questions about resizing images without losing quality
Why is it important to resize images without losing quality?
Resizing images without losing quality is crucial because simply changing the dimensions of an image can result in a loss of detail, sharpness, and overall visual appeal. When you use low-quality resized images on websites or professional materials, it can negatively impact the user experience and make your content look unprofessional.
What are the challenges of resizing images?
The main challenges of resizing images are finding the right balance between size and quality. Reducing an image's dimensions too much can lead to a loss of detail and clarity, while enlarging an image beyond its original dimensions can result in pixelation and loss of sharpness. Different resizing methods and algorithms used by image editors can also affect the final quality of the resized image.
How does image resolution impact image quality during resizing?
Image resolution plays a critical role in determining the level of detail and sharpness of an image. Higher resolution images with more pixels generally result in clearer and more detailed images. When resizing images, a lower resolution can lead to blurriness and pixelation when scaled up, while higher resolutions can help maintain quality.
What are the different image resizing methods available?
There are two primary image resizing methods: resampling and pixel interpolation. Resampling involves either upsampling (increasing size) or downsampling (decreasing size) an image. Pixel interpolation algorithms, such as Nearest Neighbor, Bilinear, and Bicubic, use mathematical calculations to estimate new pixel values during resizing.
How can I choose the right resizing method for my images?
Selecting the appropriate resizing method depends on factors like the image content, resizing ratio, and intended use. For graphics and illustrations, pixel interpolation methods like Bicubic interpolation are often preferred. For photographs and complex images, resampling methods with proper upsampling or downsampling techniques may be more suitable. Experimenting with different methods and analyzing results will help you determine the best fit for your specific image resizing needs.
What are the best tools for resizing an image without losing quality?
- Adobe Photoshop: A powerful and widely used professional image editing software with a broad range of features and tools.
- Photopea: An online image editor, providing many Photoshop-like features.
- GIMP: A free and open-source image editing software with capabilities similar to Adobe Photoshop.
- Paint.NET: A user-friendly image editing software for Windows, offering essential editing features.
Conclusion
Resizing images without losing quality is a skill that every creative should master. Whether you're preparing images for your blog, social media posts, or print materials, understanding the right techniques and tools will ensure that your visuals make a lasting impact.
In this article, we've explored the importance of preserving image quality when resizing, the challenges you might face, and the different resizing methods available. We've also provided a step-by-step guide to resizing images in Photoshop, one of the most powerful and versatile image editing tools.